6 DIY Product Photography Tips for eCommerce Retailers
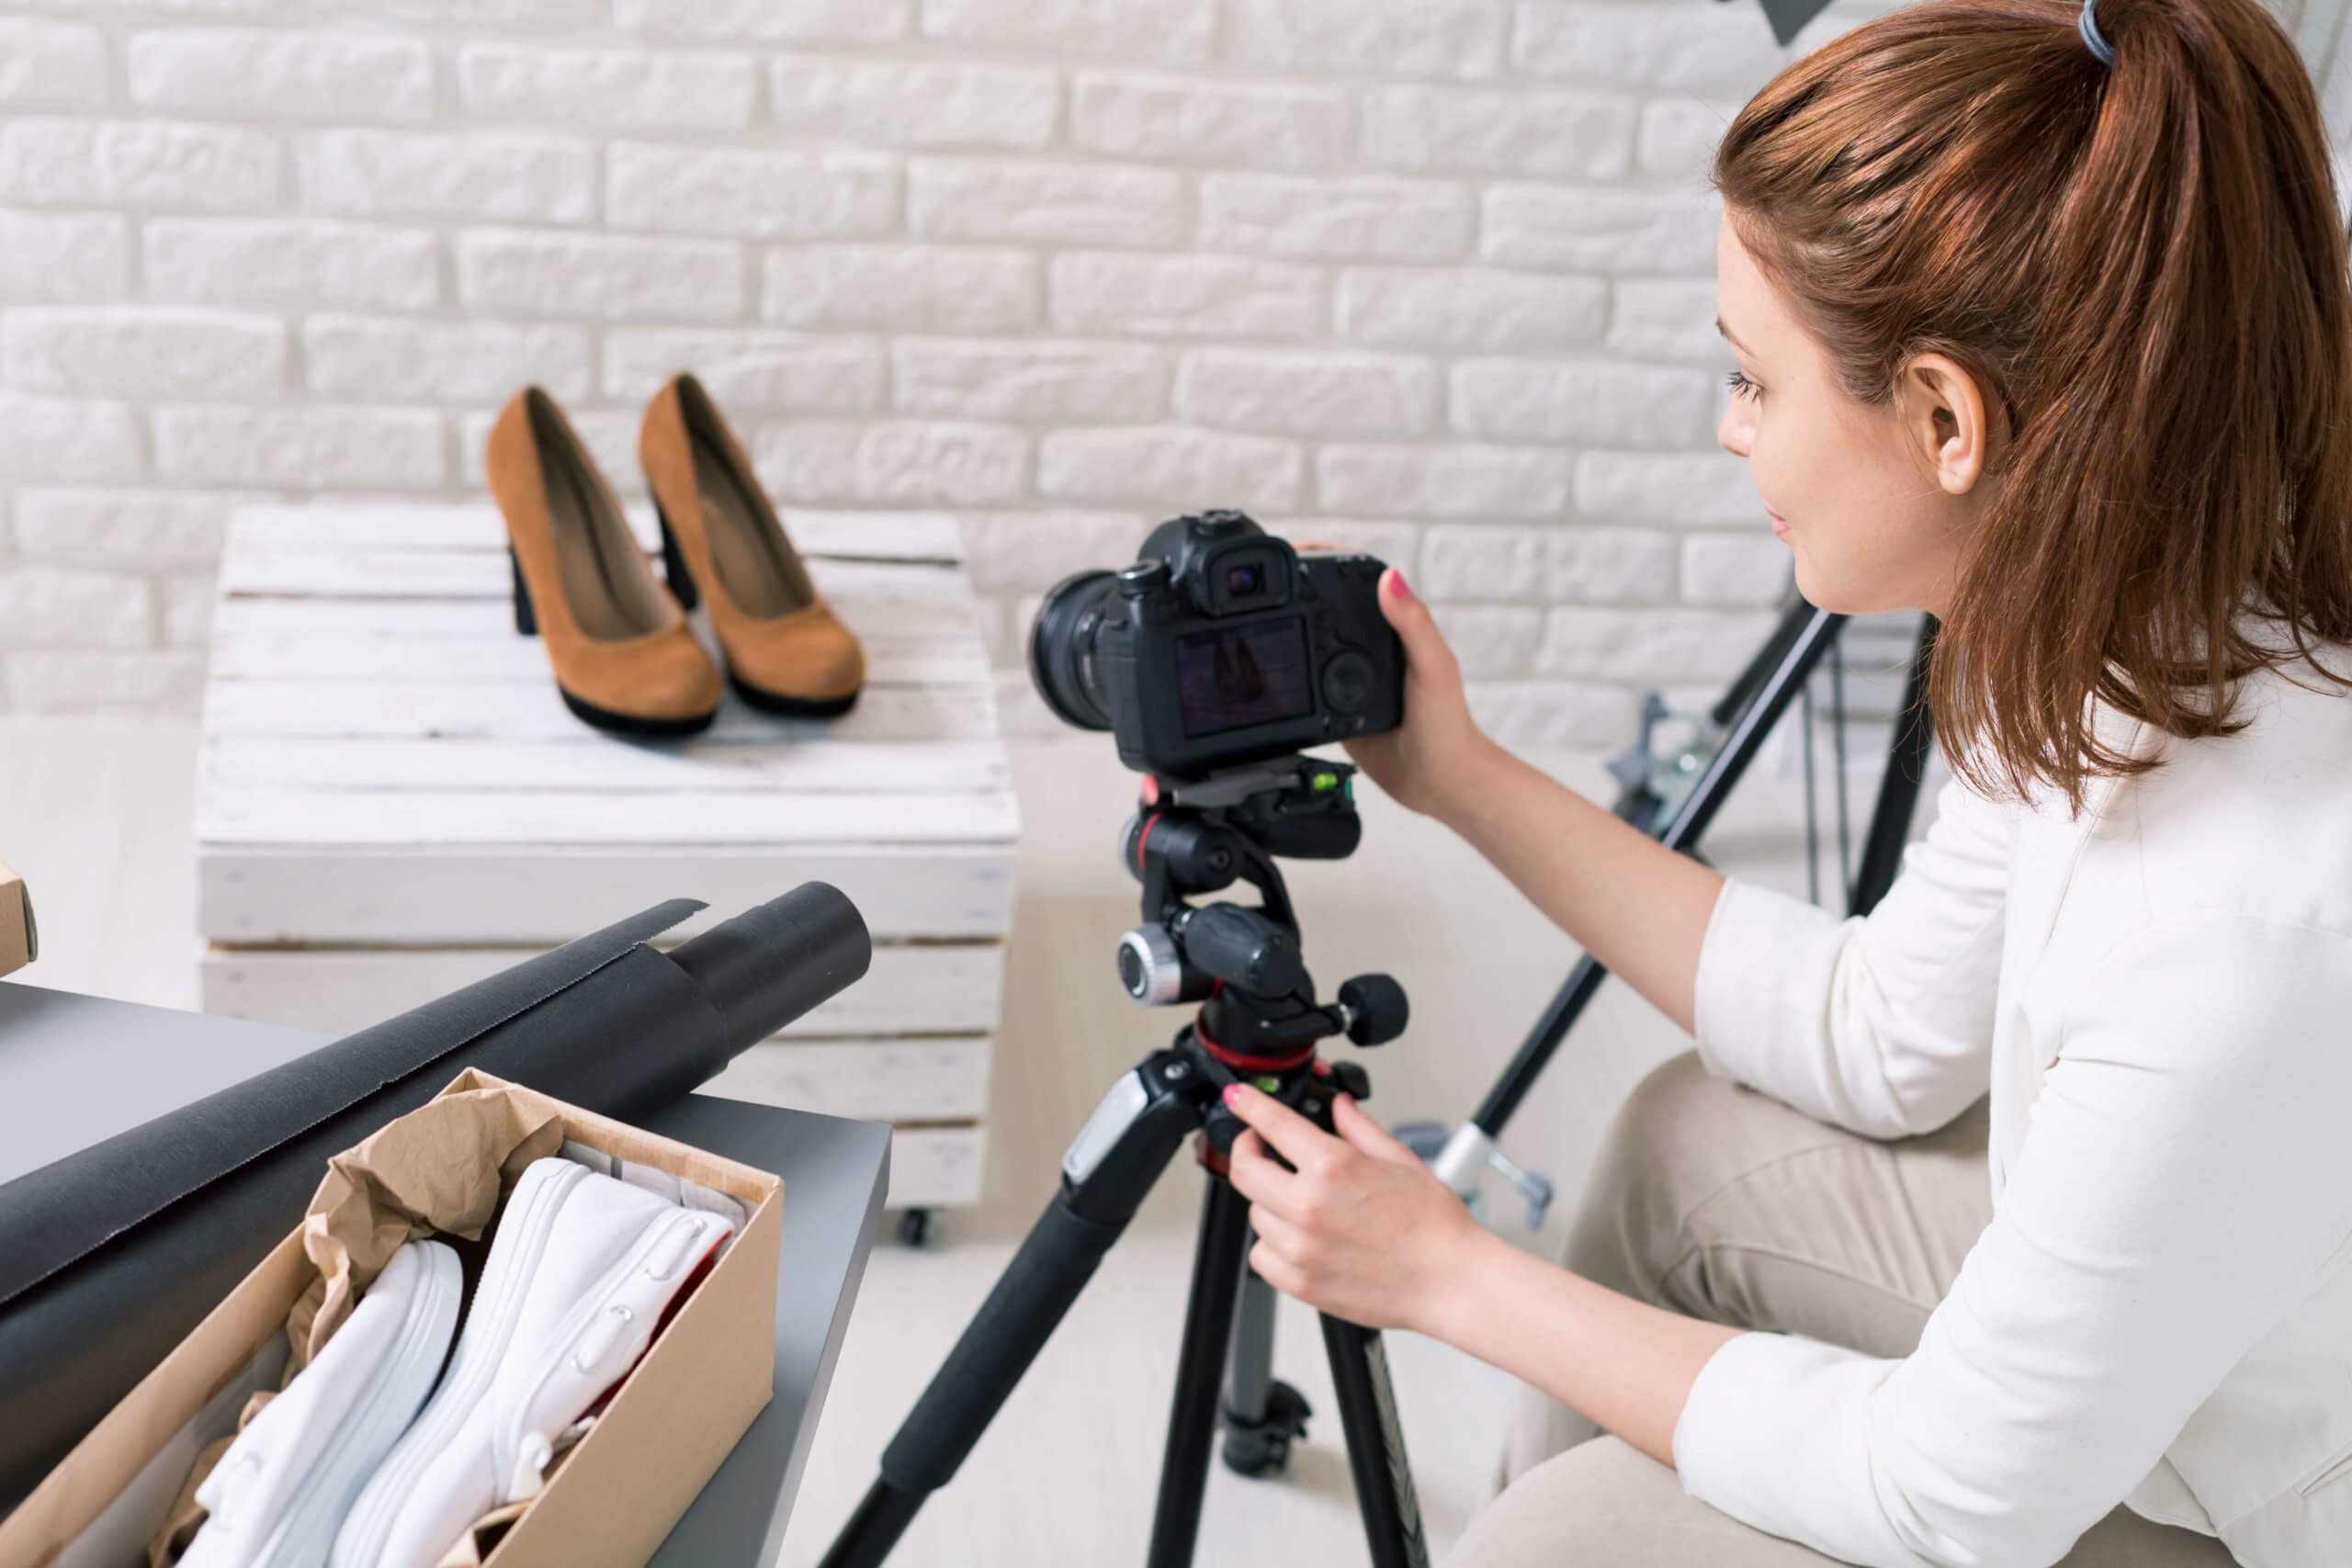
In a sea of fast and easy-to-shop competition, you have to make sure your products are appealing if you want to keep sales flowing. Your product photos are the fastest way to capture attention and help future customers decide to purchase from you. But, how do you take photos without having to bring in a professional photographer every time you launch a new product?We’ve worked with a lot of eCommerce retailers just like you. Here are a few product photography tips that we’ve learned along the way for how to make stunning photos yourself. Let’s take a look.
6 DIY Product Photography Tips to Help Make Your Products Shine
Taking awesome product photos can be done without hiring a professional if you follow a few simple steps before you start snapping. From planning to editing, here are some tips to follow.
1. Choose the Right Camera
A good camera is the first component of a successful product photography strategy. It’s important to be aware that good does not necessarily mean expensive. You don’t need to spend thousands of dollars on equipment to be able to take quality photos.
Instead, look for a camera that produces clear and realistic photos — preferably one that takes HD quality photos. You don’t necessarily need a high megapixel camera, but you do need one that takes high-quality photos.
2. Lighting is Important
Lighting is everything. The right lighting can literally make the difference between a photo that looks more professional and one that looks amateurish. Some cameras have settings to help compensate for low or poor-quality lighting. And although you can use editing to fix some small issues, nothing will completely correct a photo that’s taken in bad lighting.
Instead, make lighting a priority in your photoshoot and save yourself from all the editing to fix it later.
- If possible, try to use natural light instead of artificial light. Artificial lighting can leave yellow or blue tints on your products.
- Surround your product with a high-contrast background to help your product stand out. Most of the time, you’ll be choosing a white background to reflect the light back onto your product.
- Consider the placement of the lights as well. If they are behind your product, you’ll see them in the photo, and if they are behind the camera, you’ll cast a shadow.
One of the simplest solutions to lighting is to build a lightbox. You can build a simple one for less than $10 using the tips in this video:
3. Plan Your Angles
People are using your photos to help them decide if they are going to purchase your product. You’ll need to consider the features of your product that your customers will find appealing or that will help them make a decision.
You will want to take photos of at least the front, sides, and back of the product. If there are details like closures or other intricacies, then consider taking a close-up shot that will communicate that detail.
4. Include a Size Reference
One of the hardest things about shopping online is trying to determine the size of something simply by looking at the pictures.
People have inadvertently purchased one-sip wine glasses and kid-sized armchairs because the photos didn’t include anything to help them understand the size of the item. Simply putting the dimensions in the description often isn’t enough. Shoppers will often look at the photo and price and make a decision quickly without taking the time to read the details.
You may consider taking a photo with a person holding or wearing your product. Or you can include other items in the photo that are common and easy to reference — such as dollar bills and rulers. The size-reference might not be the primary photo, but it’s one that is important if you’d like to avoid negative reviews from unhappy customers.
5. Utilize the Right Editing Software
Taking a photo with the right camera and using the perfect lighting is only going to take you so far. Most of your photos will require at least a little editing to crop or tweak the lighting.
Just like with choosing a camera, the best option isn’t always the most expensive one. Software like Adobe Photoshop might be the standard for photo editing, but there are other editing options that don’t require that kind of spending.
Instead, you can use open-source programs like Gimpshop to perform your edits. It gives you access to professional-grade tools without the heavy price tag that comes with them. Just keep in mind that you want to be easy on the filters — you want to truthfully represent your products.
6. Don’t Forget to Optimize
We’ve already talked about how important images are to your store and how taking plenty of photos is helpful for your customers. However, there are a couple of other important considerations like file size and type. For example, if your images are the wrong file type or if they are too large of a file size they can actually hurt your website’s performance. Too many large photos can slow down your site and hurt your search ranking.
In fact, nearly 50% of consumers will leave if it takes more than 3 seconds for an eCommerce to load. Amazon determined that they would lose $1.6 billion per year if their pages were to slow down by even 1 second.
You have to strike a balance between quality and optimization. Optimizing your photos won’t be worth it if you end up with small or low-quality images that don’t help your customers make a decision about your products.
For product images in an eCommerce store, you should typically try to keep your image file size under 70kb if possible. You can do this by using the “Save for Web” option in Photoshop, or by utilizing online image editing tools like PicMonkey, PIXLR, Canva, or Gimpshop.
You should also consider your file types.
- Most of the time, JPEGs will give you the best balance of quality and file size.
- GIFs should only be used for thumbnails and decorative images only since the file size will be large and there’s no way to reduce it without sacrificing quality.
- PNGs can be a good option, but try to use PNG-8 instead of PNG-24 to keep the file size down.
Incorporate Your New Photos into Your Website
Now that you know how to get great product photos, it’s time to take a look at how those photos are going to fit into your site.
Obviously, you’ll use them on your products but they can be used throughout your store to help show future customers your brand and help them navigate through your site.
If you want to talk about a good image strategy for your site, schedule a meeting and let’s talk.
Related Articles